
Most photographers are using Luminosity Masks to blend multiple exposures, but you can use them in another awesome way you might not know about.
Hint: This article was written by Fabio Antenore, especially for Locationscout.net and only translated/published by me (Manuel). All photos were taken by Fabio.
You all probably have heard or read of Luminosity Masks. But what exactly are these masks and what are they good for? So let’s have a deeper look into this very powerful photo technique.
Luminosity Masks are, like the name already says, masks that are based on light and different brightnesses. These are an option to select bright or dark areas within your image and use these selections to change something about the image. For example, this is extremely helpful when you want to do a very accurate Dodge & Burn, to colorize lights or just to replace areas within your image that are too bright or dark with a different exposure.
The technique is based on how masks in Adobe Photoshop or any other pixel-based software are used. When working with layer masks, areas that are 100% white within the masks are 100% visible. Black parts within the layer mask are fully transparent, which means that you can see the layer beyond the layer with the mask here.
Just imagine to convert your image to black & white and use this as your layer mask. All the bright areas within your image are visible and the darker parts reveal the underlying layer. This is the basic and important idea behind Luminosity Masks since we are now using the black & white version of our image as a complex and very accurate mask.

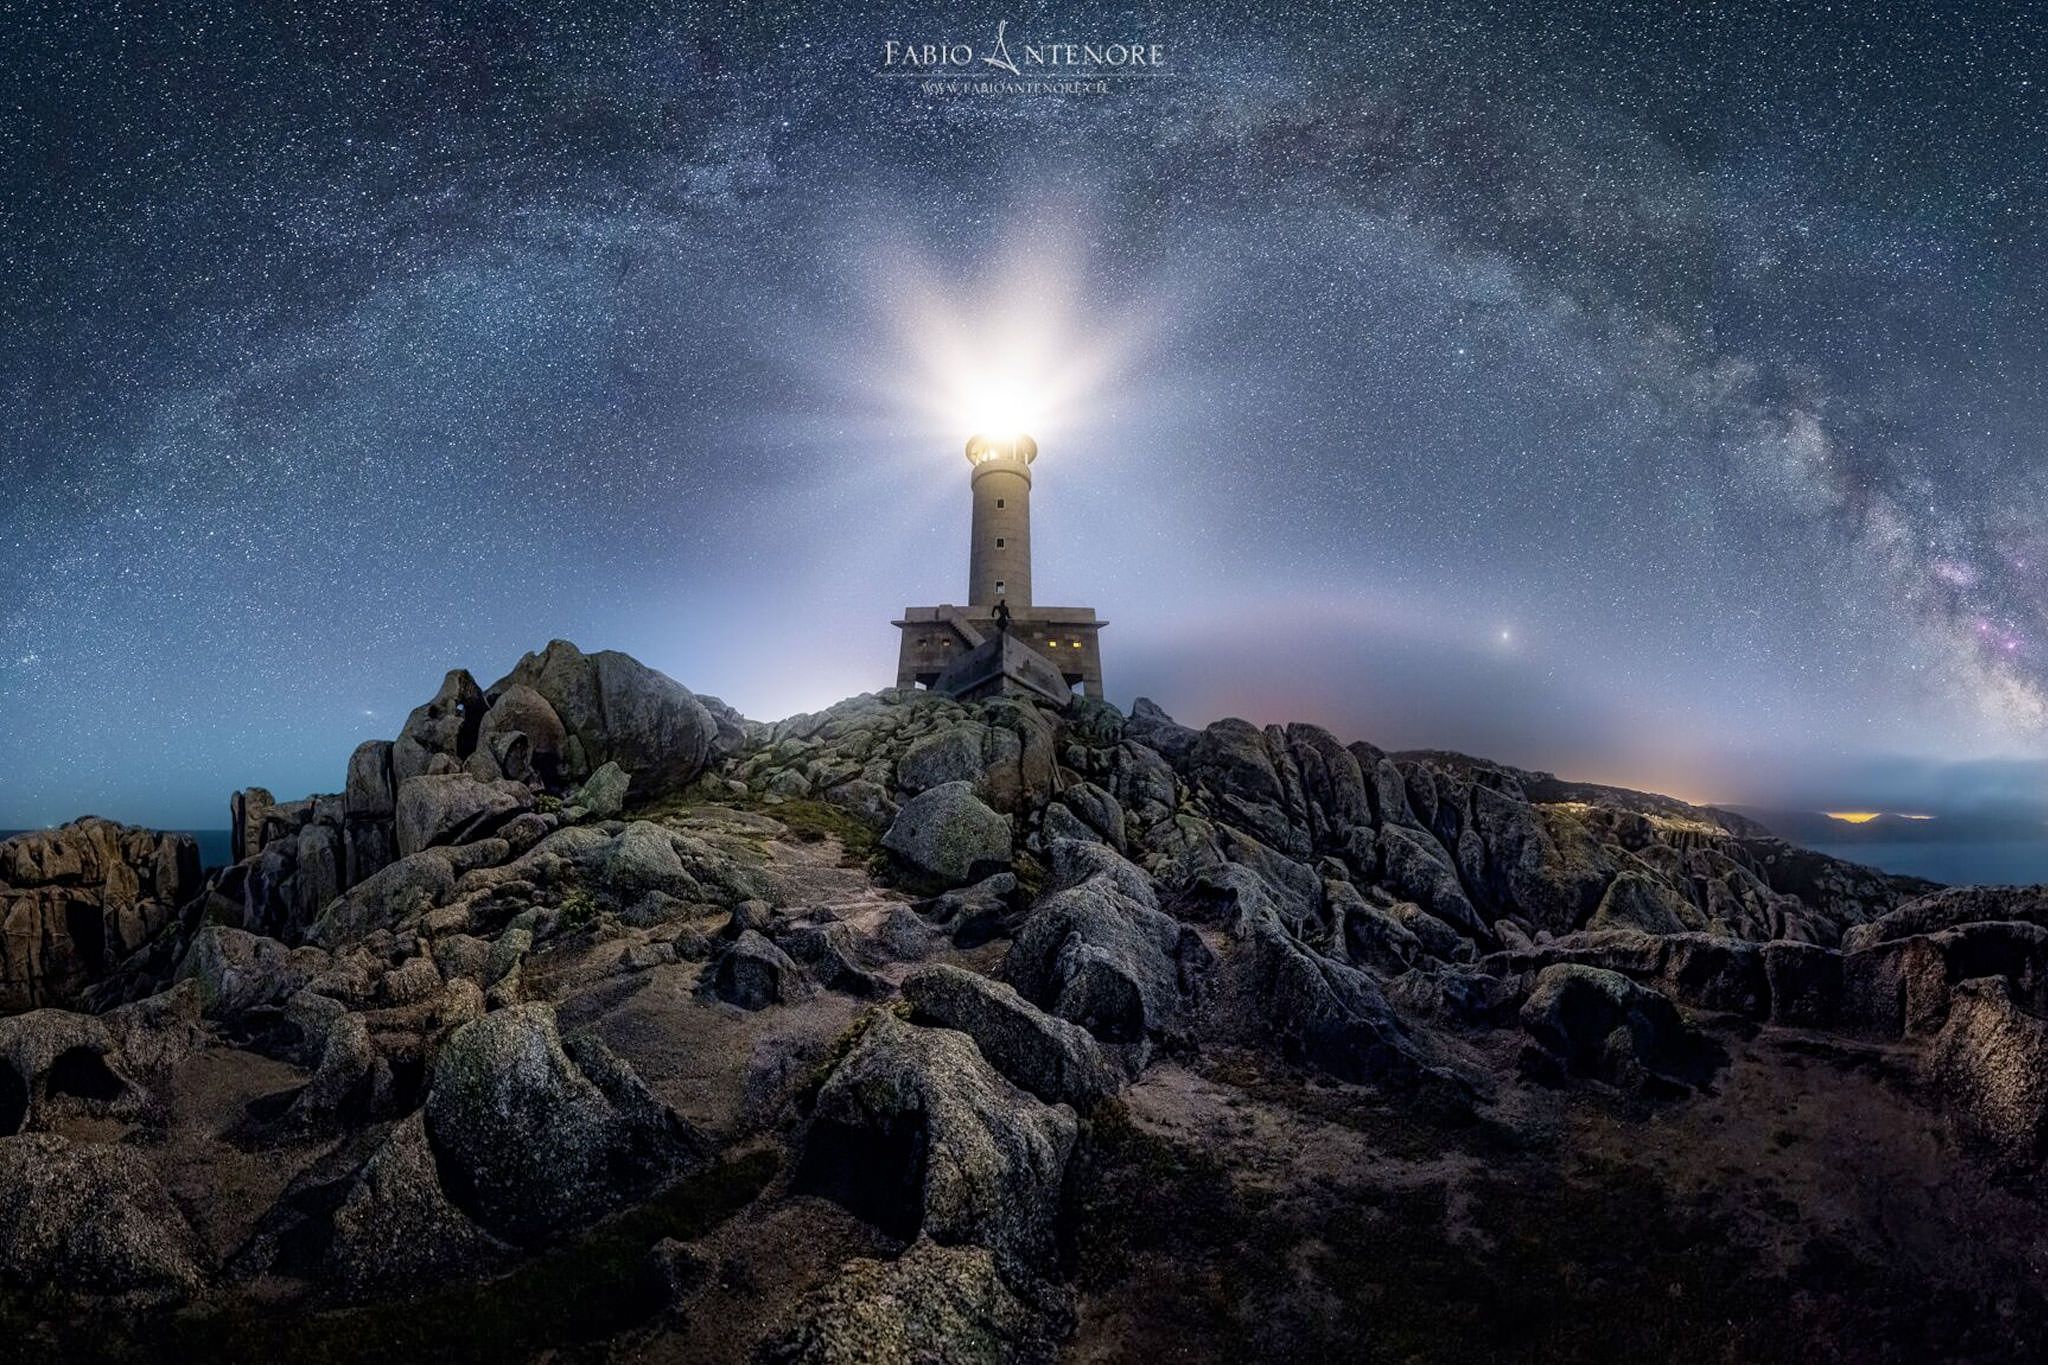
Photos like this one that needs different exposure times for different parts of the image are impossible without good masking techniques.
The intended use of these masks is various and most of the photographers are using them to replace bright or dark areas with another exposure of the same image. This is a great way to get a very natural-looking HDR image. But there are other great ways to use these masks and one of them is to use Luminosity Masks to Dodge & Burn your image to get a much bigger depth within your photos and bring them to the next level.

Before (left image) and after (right image) after using Luminosity Masks to blend this image.
Dodge & Burn
Dodge & Burn is a term that is based on a technique in analog photography. It was used to brighten or darken specific areas of a photo during the development. The same technique is used in Photoshop nowadays as the digital equivalent. When bright areas of a photo become even brighter and when dark areas become even darker, then we are boosting the contrast and the image appeals more vividly to the viewer.
By using a Luminosity Mask for these optimizations you can work much more accurately than by simply moving a generic contrast slider and it’s much faster than drawing the mask yourself.
And here is how it works: Instead of using Dodge & Burn the default way, which is by creating a new layer, setting the blend mode to "Overlay" or "Soft Light" and draw with a pencil on a very low opacity in white to brighten the specific part of the image or in black to darken the area, you will do the same process by simply using the Luminosity Mask as your Dodge & Burn layer.

The right image shows what a perfect Luminosity Mask could look like for this photo. The bright parts within the right image are also the parts of the image we want to highlight. Therefore, this can be used as a perfect Dodge & Burn layer to increase the contrast and focus of the image.
Creating Luminosity Masks
Creating these masks is usually pretty easy, but getting the perfect mask is often a lot of work. In some of my tutorials and workshops, I explain how to create them manually, but in this case, I want to show you an automatic and much simpler way by using a panel. A panel in Photoshop is nothing else than saved actions that are bundled with a script and that are executed as soon as you press a button.
I did create such a panel and you can download it for free on my website.

This is what my AF-Panel as a Photoshop plugin looks like. It's very easy to use and combines the most important features of any landscape photographer.
While working on different tutorials that I am offering in my store, I quite often had the issue that I needed to suggest one of the commercial panels and that my buyers needed to pay for these panels as well. That’s why I invested a lot of time with my team to create my own panel that I can simply offer you for free now. My goal was to create a panel that is easy to use for everybody and still offers the most important features that are needed for powerful Luminosity Masks.
Initially, the idea was to offer this tool for free to anyone who had bought one of my video courses or who participated in one of my workshops, but finally, I decided to release the panel for free for everybody, so that every photographer could benefit from using it.
You can download the AF-Panel for free here:
www.fabioantenore.ch/af-photoshop-panel-en/
Instead of trying to explain the features of the tool within a long text, I just created a video that shows you everything you need to know about the panel.
About me
The Sigma and Nisi Global Ambassador Fabio Antenore specializes in hyperreal landscapes. He is not so much interested in a realistic image of the landscape as in capturing the feelings and beauty of nature to make the viewer dream.
In "The Landscape Project", he readily communicates his techniques in workshops and on photo trips with various partners at home and abroad. For some time now Fabio has also been offering video training on numerous topics of landscape photography on his website, as well as a free panel for Photoshop and an ebook.
Homepage: www.fabioantenore.ch
Instagram: www.instagram.com/antenorefabio/


Comments (17)